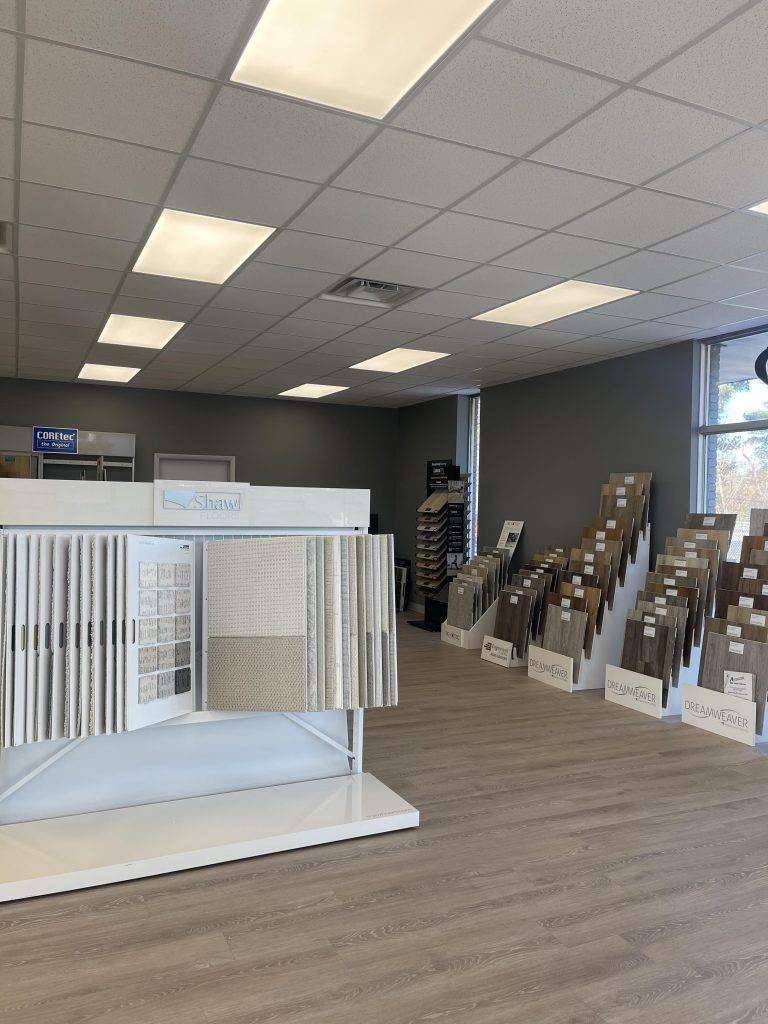

Why Spring is the Best Time of Year to Replace Your Flooring
Here at Ron Pak Carpets we wanted to let you all know why Springtime is the best time to replace your flooring.1 – Tolerable (dare we say
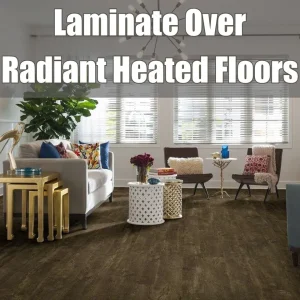
Laminate Over Radiant Heated Floors
Should you do it? According to Shaw, their Laminate flooring goes perfectly with radiant heating systems in any home. Their laminate flooring is approved for
New Carpet: What’s That Smell?
Is that smell safe? How do you get rid of it? That new carpet smell for some is a reminder of hard work that
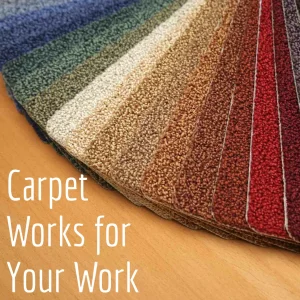
Carpet Works for Your Work
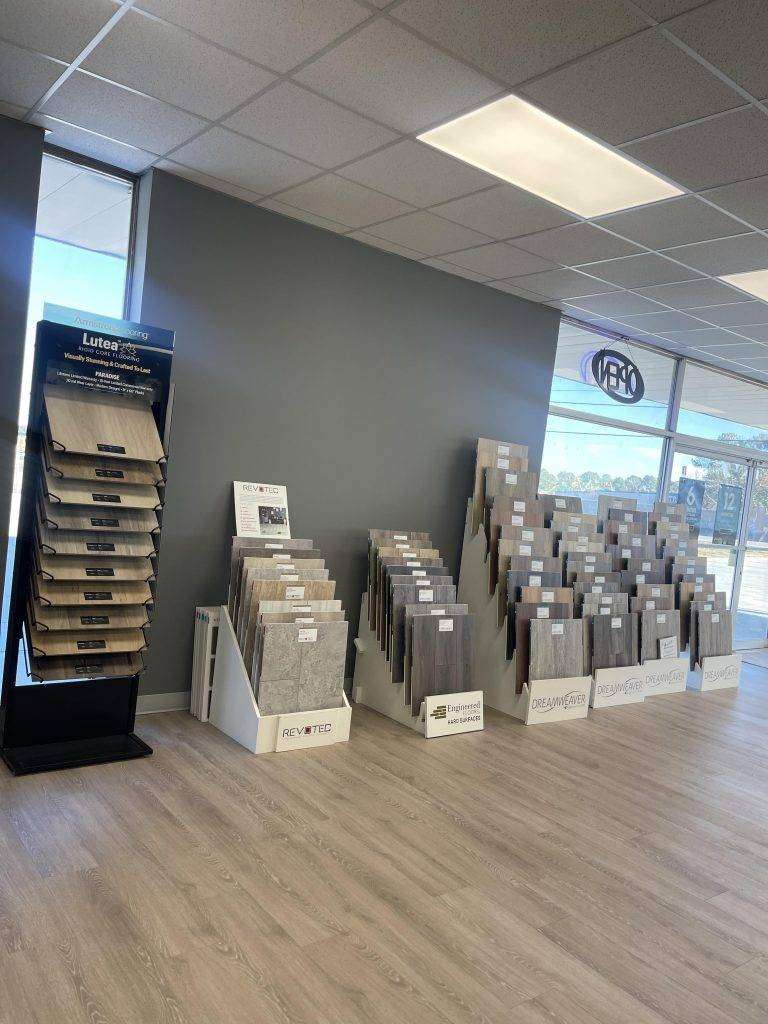
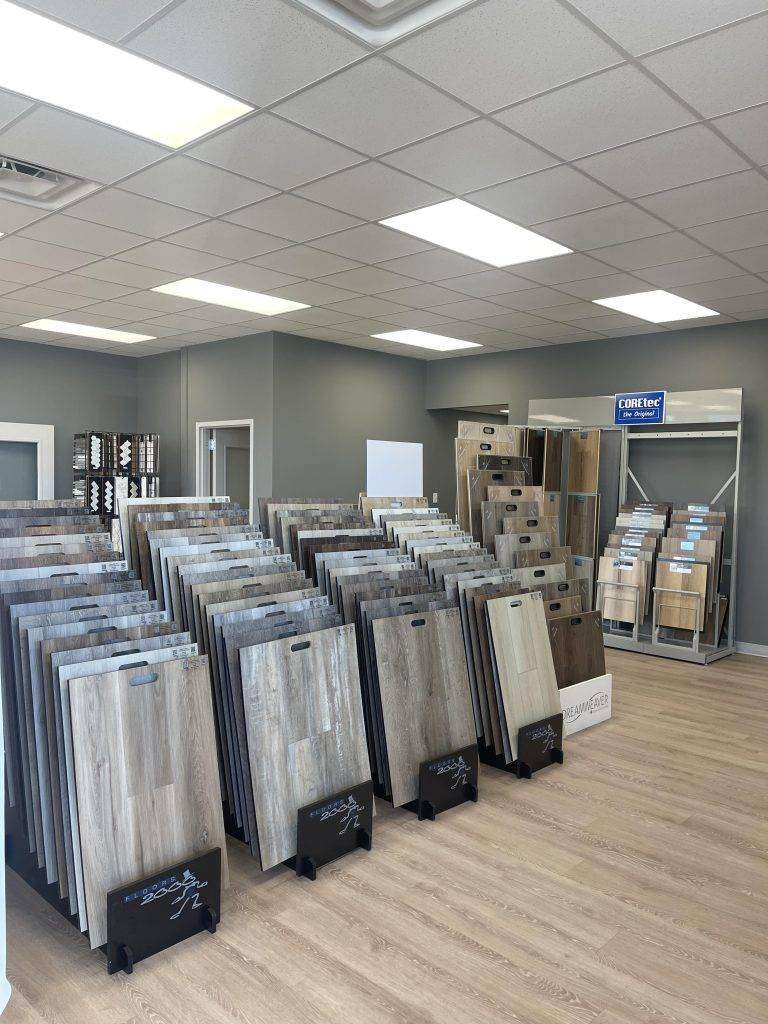
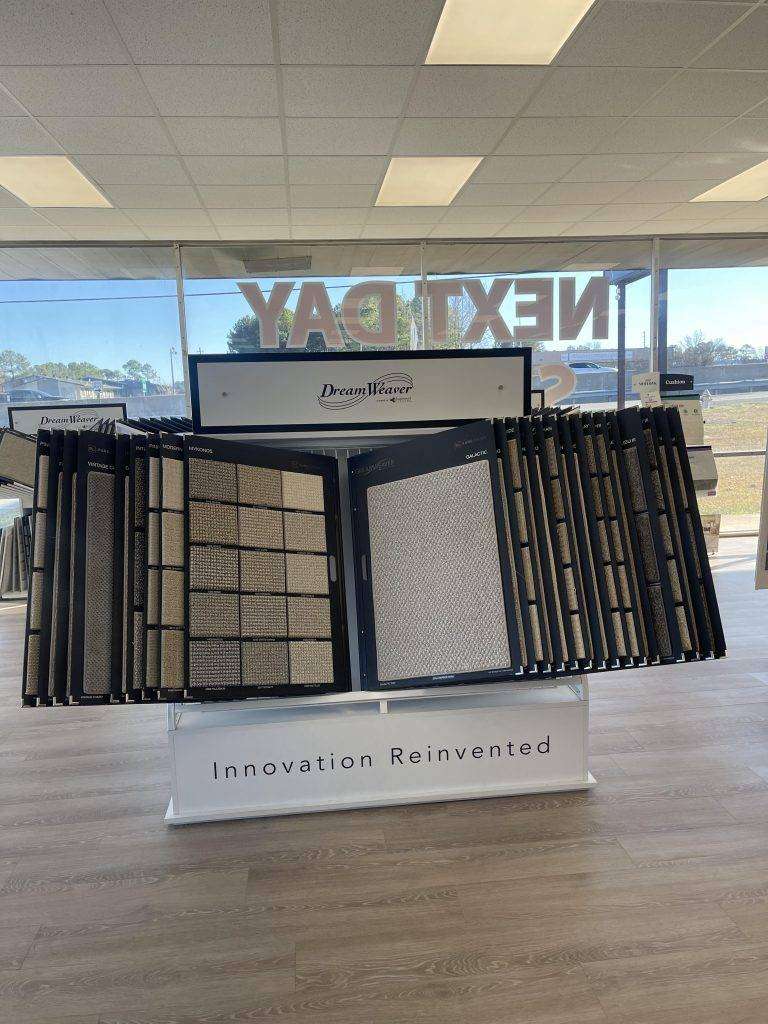
Benefits of Carpet for Your Business The variety, look, price point, sustainability and overall performance of carpet make it the perfect choice for almost any

5 Reasons to Love Carpet
Why should you choose carpet for your floors? Here’s why! 1: CARPET IS TOUGH! Most newer carpets will resist stains for 20 years and more

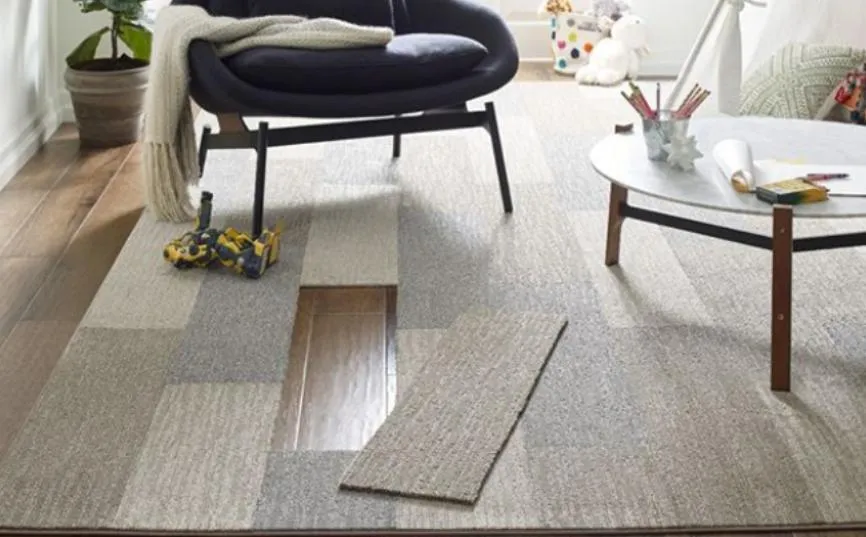
Transform Your Floors: DIY
Floorigami by Shaw makes flooring easier than ever! Floorigami by Shaw Flooring is carpet that is made to make your life and floor projects easier.